Published
(Updated )
- 3 min read
Using a Passive Buzzer(piezo) with Arduino/ESP32 - Includes non-blocking code
Introduction
In this tutorial, I will guide you through making a simple project using a passive buzzer(piezo).
Unlike Active Buzzers which just need to be powered with DC and can only produce a single tone, Passive Buzzers require an AC voltage and they can produce a wide range of simple tones!
Wiring
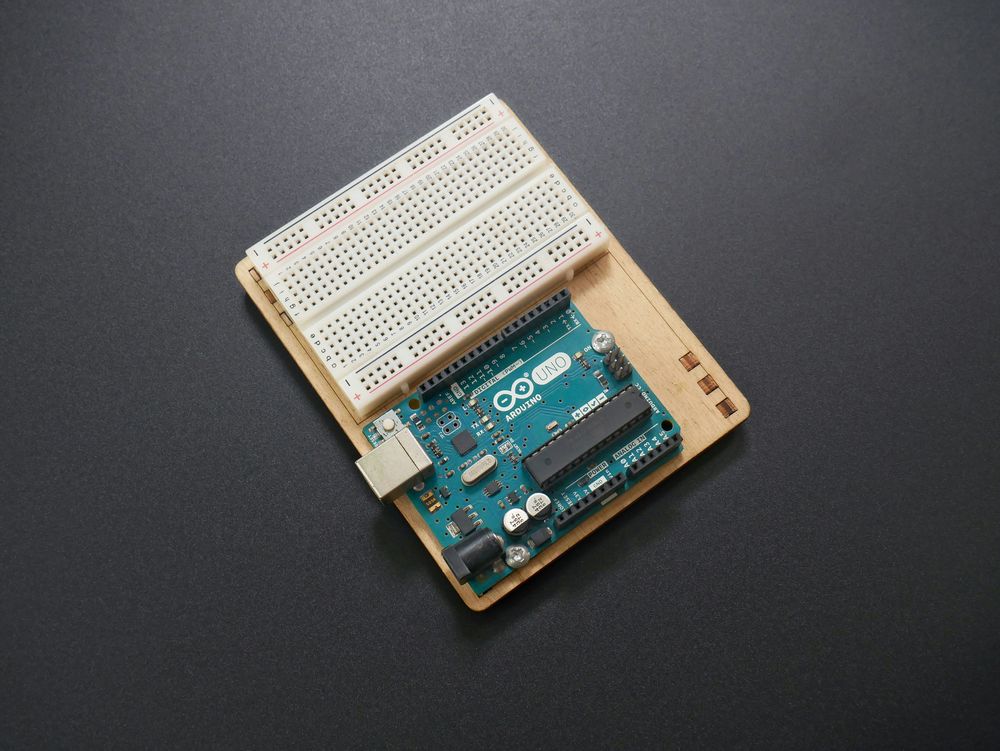
Wire your buzzer’s positive pin to one of your board’s PWM pins and connect the buzzer’s ground to your board’s ground. On Arduino, these pins have a ’~’ next to their number. For ESP32 or other Arduino-like boards, search online for a diagram by searching “board_name pinout” and looking for pins labeled as PWM. It is possible to use other pins if you’ve ran out using digitalWrite(), but it’s not exactly the same and I won’t go over it in this post.
Example diagram for Arduino UNO:

Code
Blocking Code(see below for non-blocking example)
First, connect your board to your computer, then open Arduino IDE and select your board using the drop-down menu located at the top-left.

If you use an ESP32, you will have to get the ESP32 Extension first.
       const int buzzer = 11; //The pin you used for the buzzer

void setup()
{
  pinMode(buzzer, OUTPUT); // Set the buzzer pin as output
}

void loop()
{
  tone(buzzer, 800); // Produce an 800kHz frequency
  delay(500); // Wait 500ms while playing the sound
  noTone(buzzer); // Stop generating the frequency
  delay(500); // Wait 500ms in silence
}
Non-blocking code
Tinker with the first example, and once you understand exactly how it works, take a look at this next one, which is a simple start-Up sound for your Arduino. It passes a 3rd parameter to the tone() function which tells the Arduino for how long it should keep playing the tone without using a delay(), just one line.
Important! delay() is blocking code, meaning your Arduino waits for the time you specified to elapse before going to the next line of code. tone() by itself is non-blocking code, meaning commands below tone() will start executing without waiting for the sound to finish first.
       const int buzzer = 11; //The pin you used for the buzzer

void setup()
{
  pinMode(buzzer, OUTPUT); // Set the buzzer pin as output
  //Start-Up Sound
  tone(buzzer, 800, 500); // Produce an 800kHz frequency for 500ms
  //The next command executes immediately. Doesn't wait for the tone()'s 500ms
}

void loop()
{

}
Final Thoughts
Simple, wasn’t it? You have mastered the basics of piezo buzzers! Now, you can try making more complex projects, like storing every note’s frequency into a constant in order to play simple music with a buzzer.